When we are developing any web application, we might use some components as a group. Instead of grouping these components every time, ADF provides us a feature to create a custom declarative component using the existing ADF faces components. We can reuse them across multiple projects and applications as required.
This blog will explain you how to create a custom declarative component and use them in an application.
1. Create a new ADF application. Right click on the ViewController project, click on new, choose JSF --> JSF Declarative component.
2. Give a name for the component to be created, and add a library to be stored in.
3. Add any facets if required. In this example, I gave one facet.
4. Add attributes to be used as below.
5. Add methods, if any required. Give method declarations in the below format. void method(javax.faces.event.ValueChangeEvent)
void method(javax.faces.event.ActionEvent)
6. A jspx page will be created and you can create a custom component by grouping some components in the page like below. Here I enclosed three af:inputtext's in a Panel box.
7. For the value of the af:inputtext, choose the attributes we created.
8. Create a facet ref in the panel box to refer the facet we created.
9. In the value change Listener of the Country Id, choose the Declarative Component methods. Similarly, create a button and point the action listener method to the defined method.
10. Now, we are done with the creation of the declarative component and now we have to see how to use it in an application. For that, first we need to create a deployment profile and generate a ADF Library JAR file.
11. Once the deployment is done, we get a JAR file. We need to add this as a file system to any project we want to use in.and add that to the project.
12. Now, create a new page in the project and select the custom created library in the component palette. Drop the component on the page.
13. Point the values of CountryId, Country Name and Region Id to the bindings.
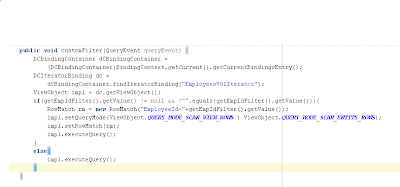
14. Write the below code in the bean to get the new value. (we can add any logic here, if needed)
15. Point the button action to the "Next" method of the VO. (To navigate through the records)
16. We can see the new facet created and we can put any elements if required. Here I added an output text.
Let's run the page and see the output.
SOP statement gets printed in the value change and Next button makes you navigate to the next record.
So, we have created a custom component and used it in an application.
Hope this helps :)


